How to Install BLTouch Sensor in Ender-3 V2 for Auto Bed Leveling

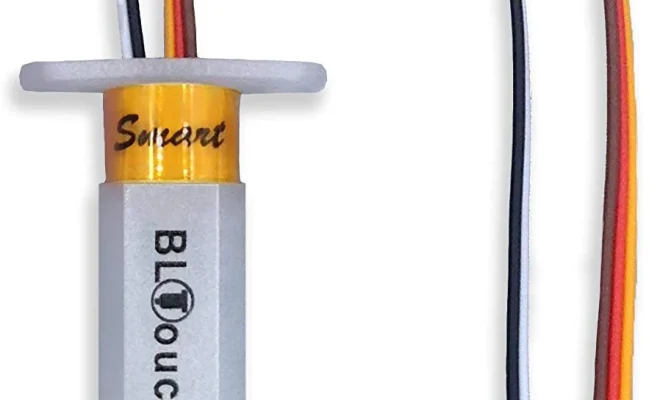
The BLTouch sensor is an accessory that can be added to your Ender-3 V2 3D printer to help automate the leveling process of your print bed. This is a great upgrade that saves time and effort when setting up for a print job. In this article, we will go through the steps to install the BLTouch sensor to your Ender-3 V2 for auto bed leveling.
Step 1: Gather Materials
Before installing the BLTouch sensor on your Ender-3 V2, you need to gather the required materials. You will need:
– BLTouch sensor
– Extension cable
– Mounting bracket
– Zip ties
– Screws
– Screwdriver
– Allen wrench
– Electrical tape
Step 2: Remove the Stock Z-Endstop
First, you need to remove the stock Z-endstop from the printer. The Z-endstop is located on the side of the extruder carriage near the top. You will need to remove the two screws that hold it in place using an Allen wrench.
Step 3: Install the Mounting Bracket
Next, install the mounting bracket for the BLTouch sensor. The mounting bracket will fit on the same two screws used to hold the Z-endstop in place. Use the same Allen wrench to secure the bracket to the extruder carriage.
Step 4: Connect the BLTouch Sensor
Now you need to connect the BLTouch sensor to the extension cable. One end of the extension cable will connect to the BLTouch sensor, and the other end will connect to the motherboard. Make sure to connect the wires correctly to avoid damaging the sensor.
Step 5: Mount the BLTouch Sensor
Next, mount the BLTouch sensor to the mounting bracket using the screws provided. The sensor should be installed at a height where it is just barely touching the print bed.
Step 6: Route the Cable
Now you need to route the extension cable from the BLTouch sensor to the motherboard. You can use zip ties to secure the cable along the frame of the printer.
Step 7: Connect to Motherboard
Finally, connect the extension cable to the motherboard. The motherboard has a labeled connector for the BLTouch sensor. Make sure to connect the wires correctly to avoid damaging the motherboard.
Step 8: Test and Adjust
Once you have completed the installation, you can turn on the printer and test the BLTouch sensor. The sensor should detect the print bed and adjust the nozzle height accordingly. It is a good idea to adjust the settings in the firmware to fine-tune the sensor’s performance.
In conclusion, installing the BLTouch sensor to your Ender-3 V2 for auto bed leveling is a great way to save time and effort when setting up for a print job. The steps mentioned in this article will help you install the BLTouch sensor correctly, ensuring that it works correctly and helps you achieve great results with your 3D printing.


