How to Install a Graphics Card

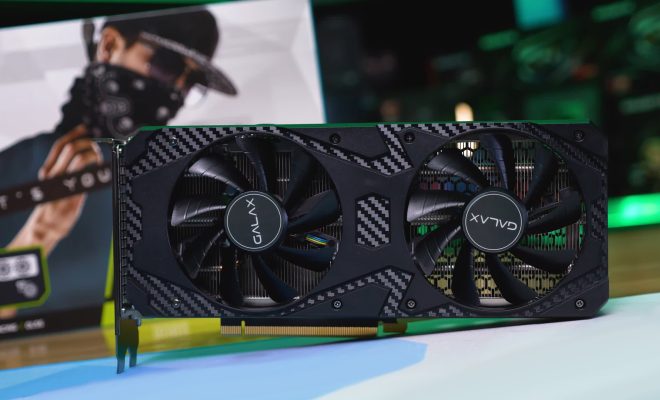
Installing a graphics card into your computer can greatly enhance its visual performance and take your gaming experience to the next level. For those who have never installed a graphics card before, the process may seem daunting. However, with a little patience and careful following of instructions, it can easily be done.
Step 1: Preparing your computer
Before beginning the installation process, ensure that your computer is turned off and unplugged from the electrical outlet. Remove the cover of your computer case to locate the PCI Express (PCIe) slot, which is normally located close to the CPU.
Step 2: Remove the old graphics card (if applicable)
If you are replacing an old graphics card, remove it by gently pressing down on the holder clip and pulling it out from the slot. If your computer does not have a graphics card, skip this step.
Step 3: Insert the new graphics card
Align the new graphics card with the PCIe slot and firmly press down until it clicks into place. Ensure that the holder clip snaps onto the card to secure it in place.
Step 4: Connect the power
Most graphics cards require additional power through a 6 or 8 pin connector. Connect the appropriate cables from the power supply unit to the graphics card.
Step 5: Reassemble your computer
Close your computer case, ensuring all screws are back in place and the cover is secure. Connect your monitor cable to the new graphics card and turn on your computer.
Step 6: Install graphics card drivers
Upon turning on your computer, it may prompt you to install drivers for your new graphics card. Follow the on-screen instructions or download the latest graphics card drivers from the manufacturer’s website.
Congratulations! You have successfully installed a new graphics card into your computer. Enjoy the enhanced performance and visual experience.


