How to Digitize Old Slides, Negatives, and Photos

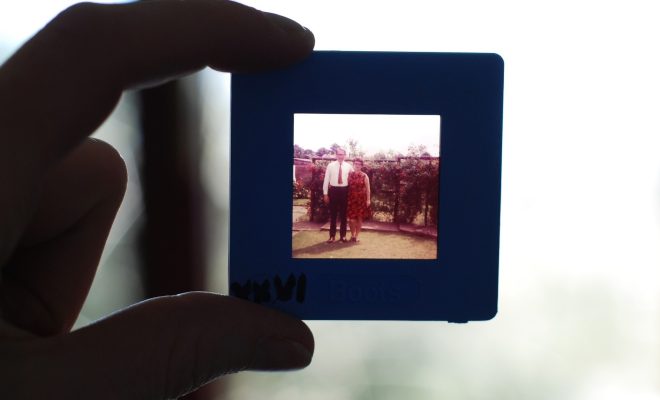
In recent years, technology has advanced significantly in the field of photography. What once required film and a dark room can now be accomplished with a digital camera and a computer. But for those with boxes of old slides, negatives, and prints, the process of digitizing these precious memories can seem daunting. The good news is that it’s easier than you might think. Below are some steps to help you get started.
1. Choose your equipment: First things first, you’ll need the right gear to digitize your old media. Depending on the format, you may need a scanner, a slide scanner, or a film scanner. There are a variety of brands and models available, so do some research to find the one that best fits your budget and needs.
2. Prep your media: Before you begin scanning your old media, take some time to clean and organize it. Remove any dust or debris from slides or negatives using a soft brush or cloth. For prints that are stuck together, try separating them by placing them in a plastic bag and freezing them for a few hours. This should make them easier to pull apart without causing damage.
3. Scan your media: Once you’ve prepped your media, it’s time to start scanning. Follow the instructions that came with your scanner, but here are a few tips to keep in mind:
– Use a high resolution: The higher the resolution, the better the quality of the digital image. Aim for at least 300 DPI for prints and 2400 DPI for slides and negatives.
– Save your files as TIFFs: TIFF files are uncompressed and therefore maintain higher quality than JPEGs, which compress the file and can result in a loss of quality.
– Correct color and exposure: Many scanners will have an option to auto-correct color and exposure settings. This can save a lot of time, but make sure to double-check the results to ensure they’re accurate.
4. Edit your images: Once you have your digital files, it’s time to edit them. There are a variety of photo editing software options available, but some commonly-used ones include Adobe Photoshop and Lightroom, or even free alternatives like GIMP. Common edits include cropping, adjusting exposure, and correcting color balance.
5. Backup your files: Finally, make sure to backup your newly digitized media. Keep multiple copies of your files on external hard drives and consider using a cloud storage service like Google Drive or Dropbox.


