How to Connect an Echo Dot to Wi-Fi

Connecting an Echo Dot to Wi-Fi is an easy process that requires only a few steps. In this article, we will walk you through the process of connecting your Echo Dot to Wi-Fi.
Step 1: Download the Alexa app
Before you start connecting your Echo Dot to Wi-Fi, you need to download the Amazon Alexa app on your mobile device. The Alexa app can be downloaded for free from the App Store or Google Play.
Step 2: Plug in the Echo Dot
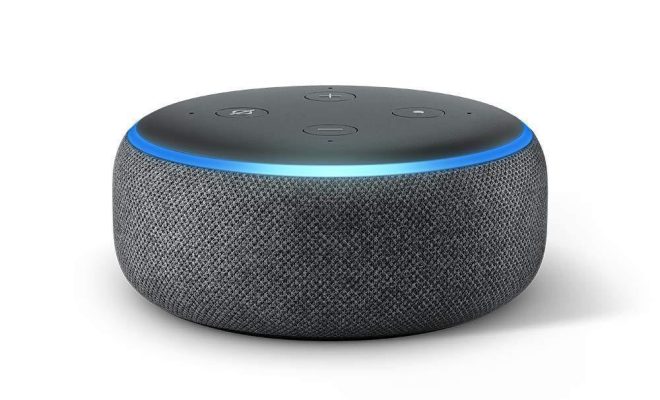
After downloading the Alexa app, plug in your Echo Dot to a power source. The Echo Dot will start booting up and you will see a light ring appear on the device.
Step 3: Open the Alexa app
Next, open the Alexa app on your mobile device. If you have not signed in, you will need to create an account or sign in to your existing Amazon account.
Step 4: Select the “Devices” icon
On the Alexa app, select the “Devices” icon at the bottom of the screen. This will take you to a page that displays all your current devices.
Step 5: Add a new device
To add a new device, click the “+” icon in the top right corner of the screen. This will prompt you to select the type of device you want to add. Select “Amazon Echo” and then select the Echo Dot.
Step 6: Connect to Wi-Fi
The Alexa app will then prompt you to connect your Echo Dot to Wi-Fi. To do this, select the Wi-Fi network that you want to connect to and enter the password.
Step 7: Wait for the connection
After entering the Wi-Fi password, the Echo Dot will start connecting to the Wi-Fi network. This process may take a few minutes, so be patient.
Step 8: Start using your Echo Dot
Once the Echo Dot is connected to Wi-Fi, you can start using it. You can ask Alexa to play music, answer questions, set alarms, and more.
In conclusion, connecting an Echo Dot to Wi-Fi is a simple process that can be done in just a few minutes. With a few clicks of a button on the Alexa app, you can have your Echo Dot up and running in no time.


