How to Connect Alexa to Your TV
Alexa, the virtual assistant created by Amazon, is one of the most popular voice-activated assistants today. One of the most exciting features of Alexa is its compatibility with other devices in your home to make your life even easier. You can now connect Alexa to your TV and control your TV using voice commands. Here’s how you can do it:
1. Check if your TV has Alexa compatibility
The first step in connecting Alexa to your TV is to check if your TV supports Alexa. Most modern smart TVs come with built-in support for Alexa, but you need to ensure that yours is one of them. Check the documentation or the manufacturer’s website to see if your TV supports Alexa. If it is not supported, you can still connect Alexa to your TV using additional devices like Amazon Fire TV, Apple TV, or Roku.
2. Connect Alexa to your TV
Once you have confirmed that your TV is compatible with Alexa, the next step is to connect the two devices. To do this:
a. Make sure that your Alexa device is set up and connected to the internet
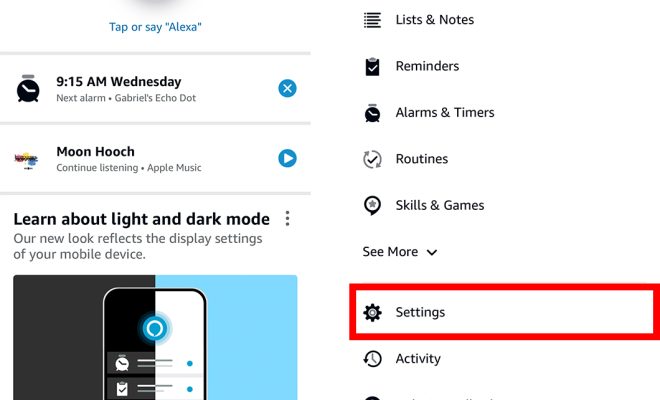
b. Go to the settings on your TV and enable Alexa by linking your account. If you have an Amazon Fire TV or Stick, the process is even simpler. Just go to Settings, and select Alexa.
3. Use Alexa to control your TV
Once the devices are connected, you can use Alexa to control your TV without having to use a remote control. Some of the basic voice commands that you can use include:
a. “Alexa, turn on/off the TV”
b. “Alexa, change the channel/volume to 5”
c. “Alexa, pause/rewind/fast forward”
You can also use Alexa to control other Alexa-enabled devices in your home, such as lights, thermostats, and security cameras.
In conclusion, connecting Alexa to your TV is a simple and straightforward process that can make your life even more convenient. Once you have connected the devices, you can control your TV using voice commands and enjoy hands-free browsing, streaming, and watching your favorite TV shows and movies.