How to Clear the Cache on a Fire TV Stick

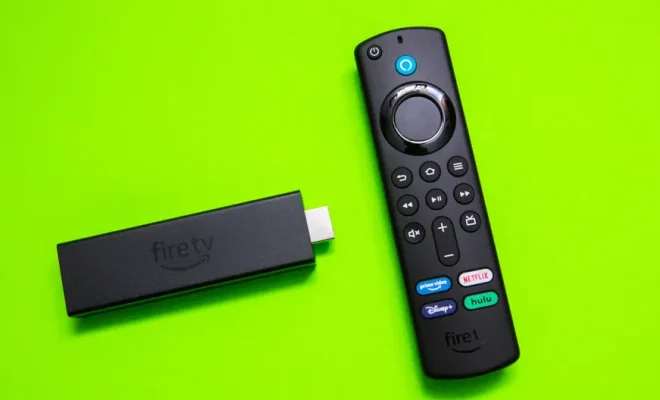
If you’re experiencing some issues with your Fire TV Stick such as freezing, buffering or slow performance, then it might be time to clear the cache. Clearing the cache will remove any data that has been stored locally and start from scratch, giving you a fresh start with your device. Here’s how to clear the cache on a Fire TV Stick:
Step 1: Head to the Settings menu
Using your Fire TV Stick remote, go to the home screen and scroll to the top of the screen to select the “Settings” icon.
Step 2: Select Applications
Scroll down until you see the “Applications” option and select it.
Step 3: Choose Manage Installed Applications
Once you are in the Applications menu, find the “Manage Installed Applications” option and select it.
Step 4: Choose the app that you want to clear cache for
In the list of applications, find the app that you want to clear the cache for and select it.
Step 5: Select “Clear Cache”
Once you are in the application settings, scroll down to the “Clear Cache” option and select it.
Step 6: Confirm the action
Once you have selected “Clear Cache”, a confirmation message will appear on the screen. Select “Clear Cache” once again to confirm your action.
Step 7: Restart your Fire TV Stick
After clearing the cache, it is recommended to restart your device. You can do this by selecting the “Settings” menu once again, choosing “My Fire TV”, then “Restart” at the bottom of the list.
By following the above steps, you can easily clear the cache on your Fire TV Stick, which can help to improve the performance of your device. It is recommended to clear the cache regularly, especially if you use your device often, to ensure that it continues to run smoothly.


