How to Change the Name on an HP Laptop

If you have an HP laptop and want to change its name, you can do so with just a few simple steps. The name of your laptop is the name that appears on your network, so changing it can help you easily identify your device. In this article, we will guide you through the process of changing the name on an HP laptop.
Step 1: Open the System Properties
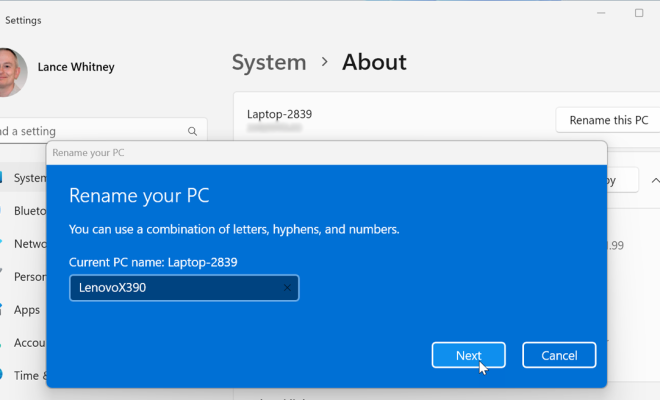
The first step to change the name of your HP laptop is to open the System Properties. To do this, right-click on the “This PC” icon on your desktop and select “Properties.” Alternatively, you can press the Windows key + Pause/Break key to open the System Properties.
Step 2: Change the Computer Name
Once you have opened the System Properties, click on the “Advanced system settings” option on the left-hand side. This will open the System Properties window. Click on the “Computer Name” tab, and then click on the “Change” button.
Step 3: Enter a New Name
In the Computer Name/Domain Changes window, you can now enter a new name for your HP laptop. Enter the new name in the “Computer name” field and click on the “OK” button.
Step 4: Restart Your Laptop
After you have entered the new name, you will be prompted to restart your laptop. Click on the “OK” button to save the changes and restart your device.
Step 5: Verify the New Name
Once your HP laptop has restarted, you can verify that the new name has been applied by following Step 1 again. The new name should now be displayed in the System Properties window.
Congratulations, you have successfully changed the name of your HP laptop! Remember that the new name will only appear on your network after you have restarted your device. Changing the name of your laptop can help you easily identify your device and make it easier to connect to other devices on your network.


