How to Burn an MP3 CD in Windows Media Player 12

Windows Media Player 12 is the default media player for Windows 10 and it allows users to create audio CD’s using their MP3 files. MP3 CD’s are great because they hold more audio files than a traditional audio CD. If you have a lot of MP3 files and want to create your own audio CD, this article will show you how to burn an MP3 CD in Windows Media Player 12.
Step 1: Open Windows Media Player 12
The first step in burning an MP3 CD in Windows Media Player 12 is to open the application. You can do this by clicking on the Start menu and searching for Windows Media Player. Once it’s open, go to the “Burn” tab located at the top of the window.
Step 2: Create a Playlist
Before you can burn your MP3 CD, you need to create a playlist. Click on the “Create Playlist” button which is located at the right-hand side of the “Burn” tab. You can give your playlist a name and add your desired songs. You can add individual songs to your playlist by clicking on the “Add to Playlist” button which is located on the right-hand side of the window.
Step 3: Arrange Your Playlist
After adding your desired songs to your playlist, you may move them around to arrange them to your preference. You can do this by dragging and dropping the songs to the desired position.
Step 4: Burn Your MP3 CD
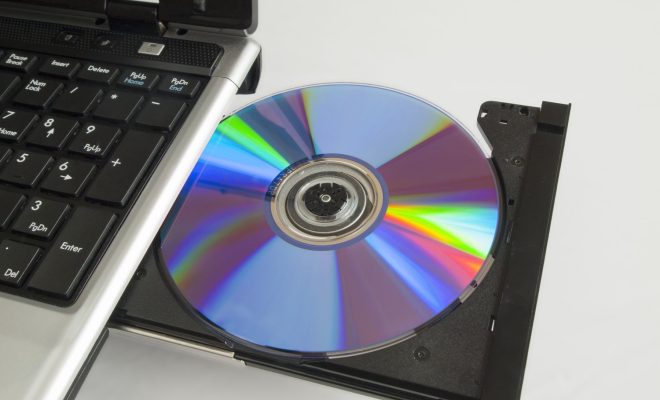
When your playlist is ready, you may begin the burning process. Insert the blank CD into your disc drive and click on the “Start Burn” button located at the right-hand side of the “Burn” tab. Wait for the process to finish and you will have your MP3 CD.
Conclusion
Burning an MP3 CD in Windows Media Player 12 is a straightforward process that can be completed within minutes. With these easy steps, you can create your own audio CD with your favorite MP3 files. So, gather all your favorite MP3 files and create your own customized audio CD.


