How to Build Your Own Raspberry Pi KVM

KVM (Keyboard, Video, Mouse) switches are commonly used in data centers and server rooms to manage multiple servers on a single console. If you want to build your own KVM switch, you can use a Raspberry Pi board and some additional hardware components. With some basic knowledge about Raspberry Pi and electronic circuits, you can create a functional KVM switch that allows you to control multiple computers without a separate display, keyboard or mouse.
Here is a guide on how to build your own Raspberry Pi-based KVM switch:
1. Get the hardware components
To build a Raspberry Pi KVM switch, you need the following hardware components:
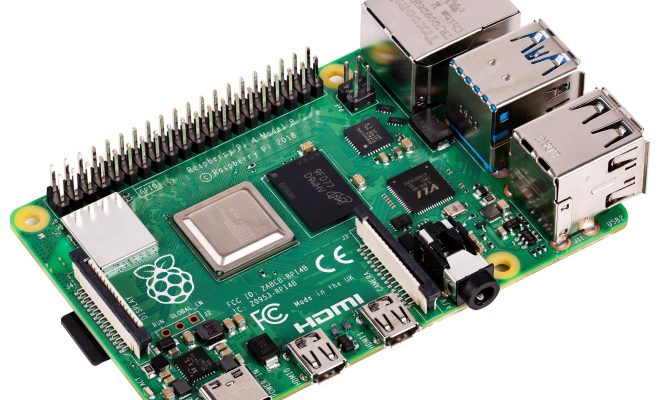
– Raspberry Pi board (preferably Raspberry Pi 4 or 3B+)
– HDMI splitter (a device that can take a single HDMI input and split it into multiple outputs)
– USB hub (to connect multiple USB devices)
– HDMI cables (to connect the splitter and the devices)
– USB cables (to connect the hub and the devices)
– Two push buttons (to switch between the computers)
2. Set up the Raspberry Pi
Before you connect the hardware, you need to set up the Raspberry Pi. Install the latest Raspbian OS on the Pi, and configure it for remote control using VNC or SSH. You also need to install some additional software packages that are necessary for the KVM switch operation, such as the x11vnc server for video access and the uinput driver for emulating the keyboard and mouse. You can use the Raspberry Pi’s GPIO pins to connect the push buttons, which will be used to switch between the connected computers.
3. Connect the hardware
Once the Raspberry Pi is set up, you can connect the hardware components. Use an HDMI splitter to split the video input from the computers into multiple HDMI outputs, and connect them to the splitter. Connect the USB hub to the Raspberry Pi and connect the keyboard and mouse to the USB hub. Connect the push buttons to the GPIO pins of the Raspberry Pi.
4. Configure the software
Once you have connected the hardware, you need to configure the software to make the KVM switch work. Use the x11vnc server to share the video output of the connected computers, and use the uinput driver to emulate the keyboard and mouse. You also need to write a script that listens to the push buttons and switches the video and input control accordingly. This script should be configured to run as a service, so that it starts automatically when the Raspberry Pi boots up.
5. Test and use the KVM switch
After configuring the software, you can test the KVM switch by connecting multiple computers to the HDMI splitter and the USB hub, and using the push buttons to switch between them. The switch should be able to capture the video output from the computers and the input from the keyboard and mouse, and switch between them seamlessly. You can also configure the Raspberry Pi to provide remote access to the connected computers, which will enable you to manage them from anywhere using your Raspberry Pi KVM switch.
In conclusion, building a Raspberry Pi-based KVM switch is a fun and educational project that can help you learn about the Raspberry Pi, circuits, and software development. With a few basic components and some knowledge, you can create a functional KVM switch that can help you manage your computers more efficiently and conveniently.


