How to Build a Personal DIY Cloud Storage With Remote Access

In today’s world of technology and digital devices, it’s essential to have a personal cloud storage that can hold all your important data and files, enabling you to access them anytime and anywhere. Cloud storage has become one of the most popular methods of storing and sharing files, and it’s even more convenient when you have remote access to your cloud storage. In this article, we’ll show you how to build a personal DIY cloud storage with remote access.
Step 1: Choose a Cloud Storage Platform
Before you start building your DIY cloud storage, the first step is to choose a cloud storage platform that suits your needs. There are many options available in the market, such as Google Drive, Dropbox, iCloud, OneDrive, and many more. However, the problem with these services is that you have to pay for them, and you don’t have complete control over your data. Therefore, we recommend using an open-source cloud storage platform such as NextCloud, which allows you to host your data on your server while giving you full control over your data.
Step 2: Set Up a Server
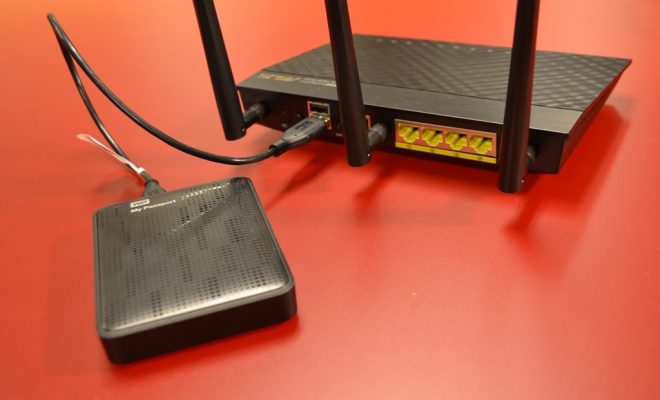
The next step is to set up a server that will host your cloud storage platform. For this, you will need a computer or a Raspberry Pi with enough storage space, RAM, and processing power to run the cloud storage platform efficiently. You can also use a VPS or a dedicated server if you don’t want to use your personal computer.
Step 3: Install NextCloud
Once you have set up the server, the next step is to install NextCloud on your server. NextCloud is an open-source cloud storage platform that allows you to store, access, and share your data securely. Installing NextCloud is relatively easy, and you can follow the instruction provided on their website.
Step 4: Configure NextCloud
After installing NextCloud, you need to configure it to suit your needs. You can set up users, groups, and permissions to control who has access to your data. You can also configure external storage like Google Drive, Dropbox, or OneDrive to integrate with your NextCloud instance.
Step 5: Enable Remote Access
The next step is to enable remote access to your NextCloud instance. This will allow you to access your data from anywhere, using any device with an internet connection. For this, you need to configure your router by forwarding the port used by NextCloud to your server’s IP address. You can find the port used by NextCloud in its configuration file.
Step 6: Set Up SSL Encryption
Enabling SSL encryption is essential to secure your data while accessing it remotely. You can obtain a free SSL certificate from Let’s Encrypt, which is an open certificate authority, or you can purchase one from any SSL provider.
Step 7: Access Your Cloud Storage Remotely
Once you have set up everything, you can now access your cloud storage remotely using the internet. You can use any device with a web browser or a NextCloud client app, available for Windows, Mac, Linux, Android, and iOS, to access your data securely.


