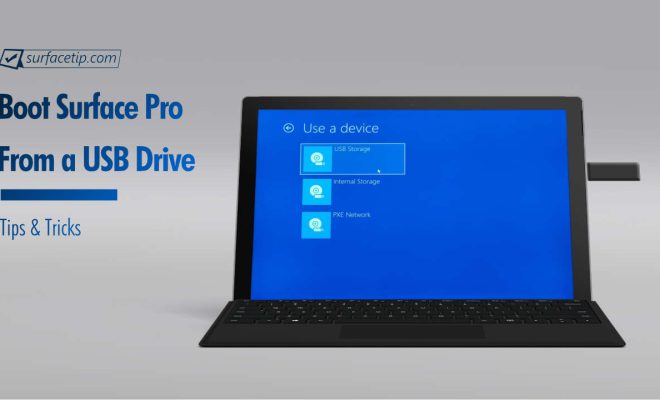
How to Boot Your Surface Pro From a USB Drive

The Microsoft Surface Pro is a versatile device that offers the convenience of a tablet with the power of a laptop. Often, users may need to boot their Surface Pro from an external USB drive, whether to install a new operating system or recover data. In this article, we’ll provide a step-by-step guide on how to boot your Surface Pro from a USB drive.
Step 1: Create a bootable USB drive
The first step in booting your Surface Pro from a USB drive is to create a bootable USB drive. This can be done using various software programs, such as Rufus or the Microsoft Media Creation Tool. It is important to ensure that the USB drive is formatted correctly and that it contains the necessary files to boot your Surface Pro.
Step 2: Shut down your Surface Pro
Before attempting to boot your Surface Pro from a USB drive, it is important to shut down the device completely. This can be done by simply holding down the power button until the device powers off.
Step 3: Insert USB drive and press Volume Down button
Next, insert the bootable USB drive into the Surface Pro’s USB port. Once inserted, press and hold the Volume Down button on the device.
Step 4: Power on your Surface Pro
While still holding down the Volume Down button, press the power button on your Surface Pro. Keep holding down the Volume Down button until the Surface Pro logo appears on the screen.
Step 5: Choose USB drive as boot option
Once the Surface Pro logo appears on the screen, release the Volume Down button. The device should display the message “Preparing Automatic Repair.” After a few moments, the “Choose an option” screen should appear. Select “Use a device”, then “USB Drive” to boot your device from the USB drive.
Step 6: Follow on-screen instructions
Once your Surface Pro is booted from the USB drive, follow the on-screen instructions to perform the necessary action, such as installing a new operating system or recovering data.
In conclusion, booting your Surface Pro from a USB drive is a simple and straightforward process. Creating a bootable USB drive and following the necessary steps to boot your device can help you recover lost data or install a new operating system. By following the steps above, you can easily and effectively utilize your Surface Pro’s full potential.


