3 Ways to Deploy a React Application on Netlify

React, one of the most popular JavaScript libraries, is widely used for building powerful and interactive web applications. Once you’ve finished developing your React application, the next step is to deploy it to a web server so that it’s accessible online. One of the most popular web-hosting platforms for deploying React applications is Netlify. In this article, we’ll discuss three ways to deploy a React application on Netlify.
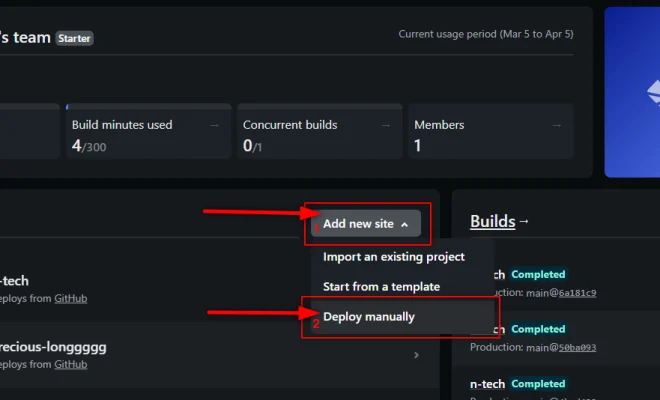
1. Deploying through Netlify Web Interface
Netlify provides an easy-to-use and intuitive web interface for deploying React applications. Here’s how to do it:
Step 1: Create an account on Netlify, if you haven’t already.
Step 2: Connect your GitHub repository to Netlify by clicking on the “New site from Git” button on the Netlify dashboard, and then follow the instructions to link your repository.
Step 3: Once a repository has been connected, you can configure the build settings for your application.
Step 4: To deploy a React application, you need to specify the build command and the build directory. By default, the build command is “npm run build” and the build directory is “/build”.
Step 5: Press the “Deploy site” button on the Netlify dashboard to deploy your React application.
2. Deploying through the Command Line Interface (CLI)
Netlify also provides a Command Line Interface (CLI) for deploying React applications. Here’s how to do it:
Step 1: Install the Netlify CLI by running the following command: npm install -g netlify-cli
Step 2: Navigate to your project’s root folder using the command line interface.
Step 3: Authenticate your Netlify account by running the command: netlify login
Step 4: Create a new site on Netlify using the command: netlify create
Step 5: Configure the build settings for your application by modifying the netlify.toml file in the root directory of your project.
Step 6: Finally, deploy your React application using the command: netlify deploy
3. Deploying through Continuous Integration (CI)
Netlify allows you to use Continuous Integration (CI) tools like CircleCI, Jenkins, and Travis CI to deploy your React application. Here’s how to do it:
Step 1: Connect your CI tool to your GitHub repository.
Step 2: Add a build step to your CI configuration that builds your React application.
Step 3: Add a deployment step to your CI configuration that deploys your React application to Netlify.
Step 4: Configure the build and deployment settings in your CI config file.
Step 5: Commit your changes and push them to your GitHub repository.
Step 6: Watch as your React application is built, tested, and deployed automatically.
Conclusion
Deploying your React application on Netlify is easy and straightforward, and there are multiple ways to do so. In this article, we have covered three different methods to deploy your React application on Netlify, including the web interface, the command-line interface, and continuous integration. Choose the method that works best for your project and start enjoying the benefits of having your application live and accessible online!


