Test your RAM with Windows Memory Diagnostic tool

Introduction:
When it comes to the smooth functioning of your computer, having sufficient and efficient RAM is of the utmost importance. Over time, you might notice a decline in performance, and this could be an indicator that your RAM needs testing for potential issues. The Windows Memory Diagnostic tool is a built-in utility that can help you pinpoint whether or not you are dealing with memory-related issues.
In this article, we will discuss the Windows Memory Diagnostic tool, how to use it effectively to test your computer’s RAM, and what to do once you have the results.
What is the Windows Memory Diagnostic Tool?
The Windows Memory Diagnostic tool is a free utility provided by Microsoft to test your computer’s RAM for errors. It works on all Windows operating systems that support this feature, including Windows 10, 8.1, and 7.
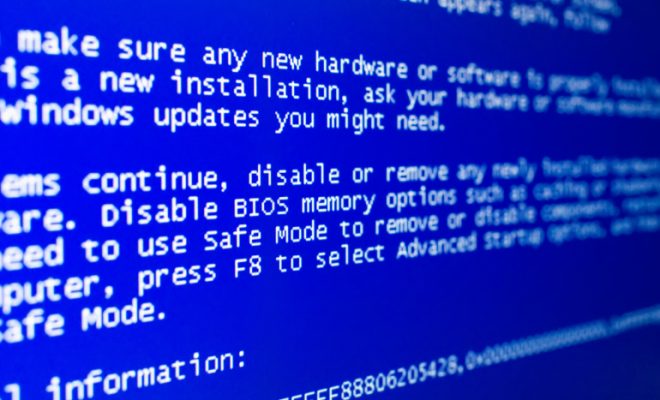
Testing your computer’s memory can help identify any potential issues, such as faulty RAM sticks or memory leaks. This test allows users to diagnose and potentially resolve these problems before they lead to critical system errors or crashes.
How to Run the Windows Memory Diagnostic Tool:
Below are the steps on how to utilize the Windows Memory Diagnostic tool effectively:
Step 1: Save Your Work and Close Running Programs:
Before running the tool, ensure that you save all of your open work and close any running programs because it requires rebooting your computer.
Step 2: Access the Windows Memory Diagnostic Tool:
To access the tool, press the ‘Windows’ key and type ‘Windows Memory Diagnostic’ in the search bar. Upon finding it in the results list, click on it.
Step 3: Restart Your Computer:
You will be presented with two options: restart immediately and run diagnostics or check for problems next time you start your computer. Click on ‘Restart now and check for problems (recommended).’
Step 4: Run a Basic, Standard, or Extended Test:
Your computer will restart and load the Windows Memory Diagnostic environment, where you’ll be able to choose between three different test modes: Basic, Standard, and Extended. Each test mode increases in complexity and duration. For most users, the Standard test will suffice to identify any issues.
Step 5: Review the Test Results:
Once the test is completed, your computer will automatically reboot into the Windows operating system. To view the results of your memory test, press ‘Windows’ key + ‘X’ and select ‘Event Viewer.’ In Event Viewer, go to ‘Windows Logs,’ then click on ‘System,’ and look for events with the source ‘MemoryDiagnostics-Results.’
Interpreting Results and Next Steps:
If you find errors through the Windows Memory Diagnostic tool, it may indicate that you have faulty RAM sticks. In such cases, you can either try re-seating the RAM sticks in their slots or consider replacing them altogether.
In case no errors are detected but you still suspect memory-related issues, consider running more extensive tests using third-party diagnostic tools or consulting a professional technician for further assistance.
Conclusion:
Regularly testing your RAM for errors is a smart practice to ensure optimal performance and avoid potential system crashes. The Windows Memory Diagnostic tool makes it easy to run these tests whenever necessary. By following the steps mentioned above and taking appropriate action based on the results, you can maintain your computer’s health and extend its useful life.


