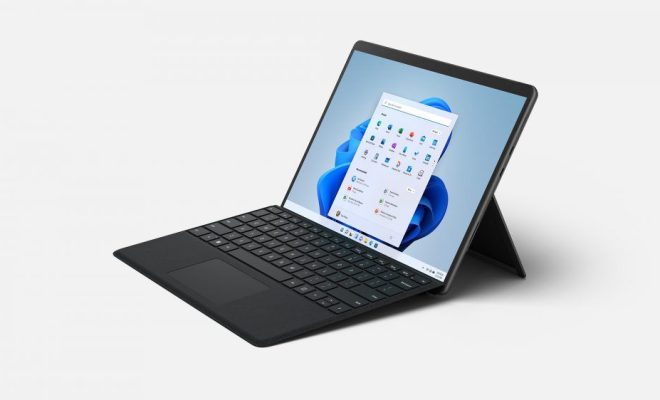
How to Take a Screenshot on a Surface Pro Tablet

If you’re a Surface Pro tablet owner, you’ll eventually find yourself wanting to take a screenshot of something on your screen. Whether it’s a funny meme or an important document, capturing your screen can be incredibly useful. Luckily, taking a screenshot on a Surface Pro is quick and easy.
There are a variety of ways to take a screenshot on a Surface Pro. Here are three of the most common methods:
- Use the keyboard shortcut
The easiest way to take a screenshot on a Surface Pro is to use a keyboard shortcut. Simply press the Windows key + Print Screen key at the same time. This will capture the entire screen and save it in the Pictures folder. You can then access the screenshot by going to the Pictures folder and selecting the Screenshots folder.
- Use the Surface Pen
If you have a Surface Pen, you can use it to take a screenshot. Press and hold the top button on the Surface Pen until you see the screen dim briefly. This indicates that the screenshot has been captured. You can then access the screenshot by going to the Pictures folder and selecting the Screenshots folder.
- Use the Snipping Tool
The Snipping Tool is a handy built-in Windows feature that allows you to capture a specific area of your screen. To access the Snipping Tool, search for it in the Windows search bar or go to Start > Windows Accessories > Snipping Tool. Once the tool is open, select the type of snip you’d like to take (such as a rectangular snip) and drag your cursor over the area you’d like to capture. Once you release your mouse button, the snip will be taken and you can save it as a file.


