How to Add a Christmas Theme to Windows 10 and 11

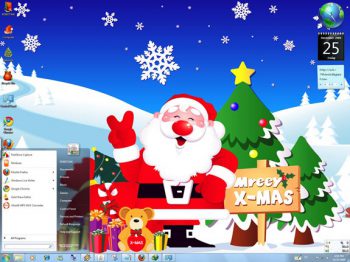
Christmas is a beautiful holiday that not only brings people together but also brings a festive spirit. One of the best ways to celebrate the holiday season is by adding a Christmas theme to your Windows 10 and 11 computers.
Here is a step-by-step guide on how to add a Christmas theme to Windows 10 and 11:
Step 1: Open the Microsoft Store
Microsoft Store is the application that provides access to thousands of themes and apps for Windows 10 and 11. Open the Microsoft Store app on your computer.
Step 2: Search for Christmas themes
Type ‘Christmas theme’ into the search bar in the Microsoft Store app and press the enter key to search. You will get a list of Christmas themes available for Windows 10 and 11. Look for the one that appeals to you the most.
Step 3: Install a Christmas theme
After selecting a theme, click on the ‘Get’ button to begin the installation process. Wait for the theme to download and install.
Step 4: Apply the Christmas theme
Once the installation of the theme is complete, you will need to apply it to your Windows 10 and 11 computer. Go to the ‘Settings’ app, select ‘Personalization,’ and then choose ‘Themes.’ From here, you can select the Christmas theme that you have installed to use as your default theme.
Step 5: Customize the Christmas theme
Many Christmas themes come with different wallpapers, icons, and sounds to help personalize your computer. After you’ve applied the theme, you can customize it further by selecting different background images and colors, fonts, and sounds.
In conclusion, adding a Christmas theme to your Windows 10 and 11 computer is a simple and fun way to celebrate the festive season. With this guide, you can customize your computer’s theme to reflect the holiday spirit. It will give your computer a fresh, festive look that will help get you in the mood for the festivities. So, go ahead and give your Windows 10 and 11 computers a bit of holiday cheer!


